Learn Violin Fingering Quickly With Our Simple Guide

Is violin fingering tripping you up? Follow these simple tips, charts, and patterns to learn how to play the violin one note at a time!


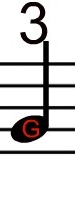


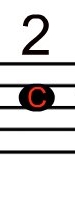

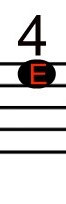
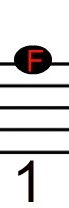
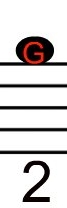
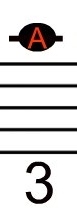
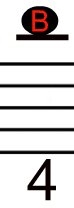
There are many different violin fingering charts out there, my system is by the string, and teaches all 4 notes fingered on that string at the same time. I think it's very important to learn how each finger will fit into the left hand position as a whole. Learning violin fingering this way will help you connect the fingers quickly, read notes faster, and play smoother.
Also! Back by popular demand here is a guide to our note by note fingering. Scroll through the notes, and click on the one you are trying to play.
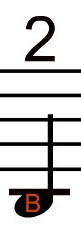
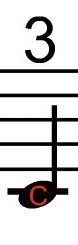
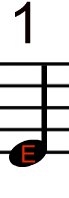
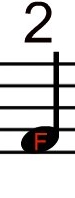
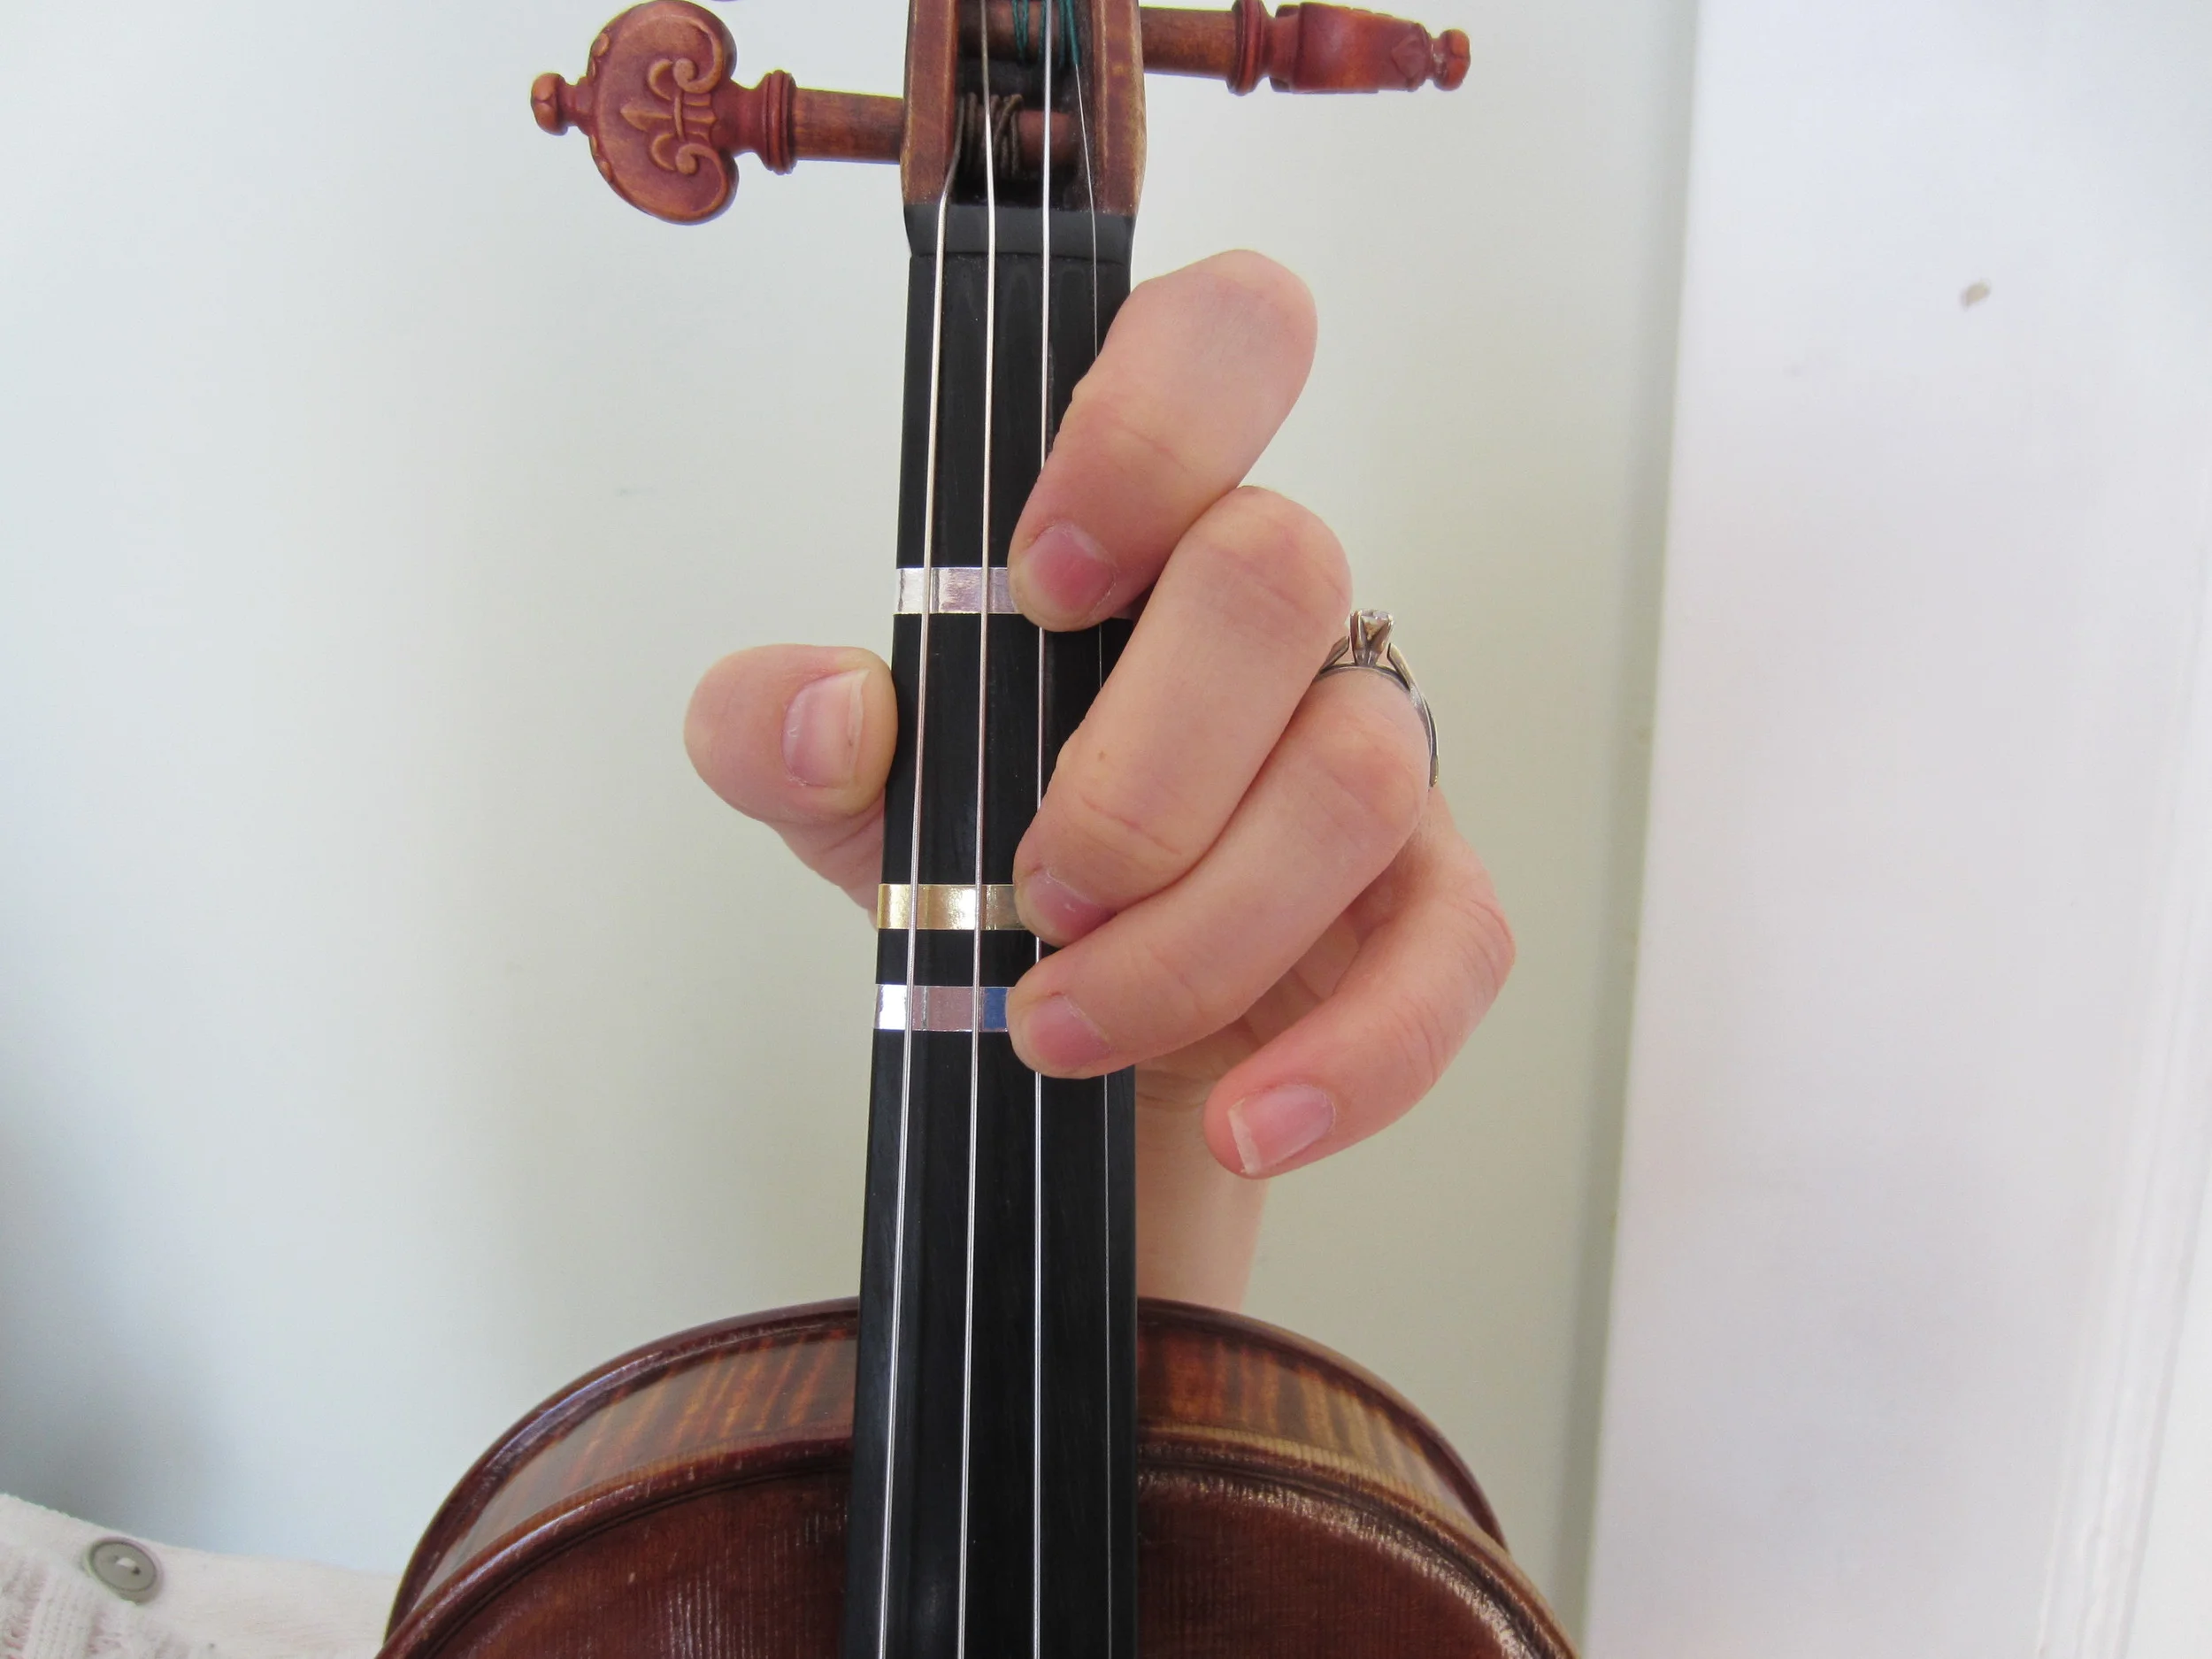
When playing a note, that note must be the highest note placed on the string. For example, if you are trying to play a C on the A string (2nd finger), do not have your 3rd or 4th finger down in position at the same time.

To add sharps and flats follow this rule; Flats should be played by sliding the finger down (towards the scroll) half a step, and sharps are played by sliding the finger up half a step (towards the bridge).
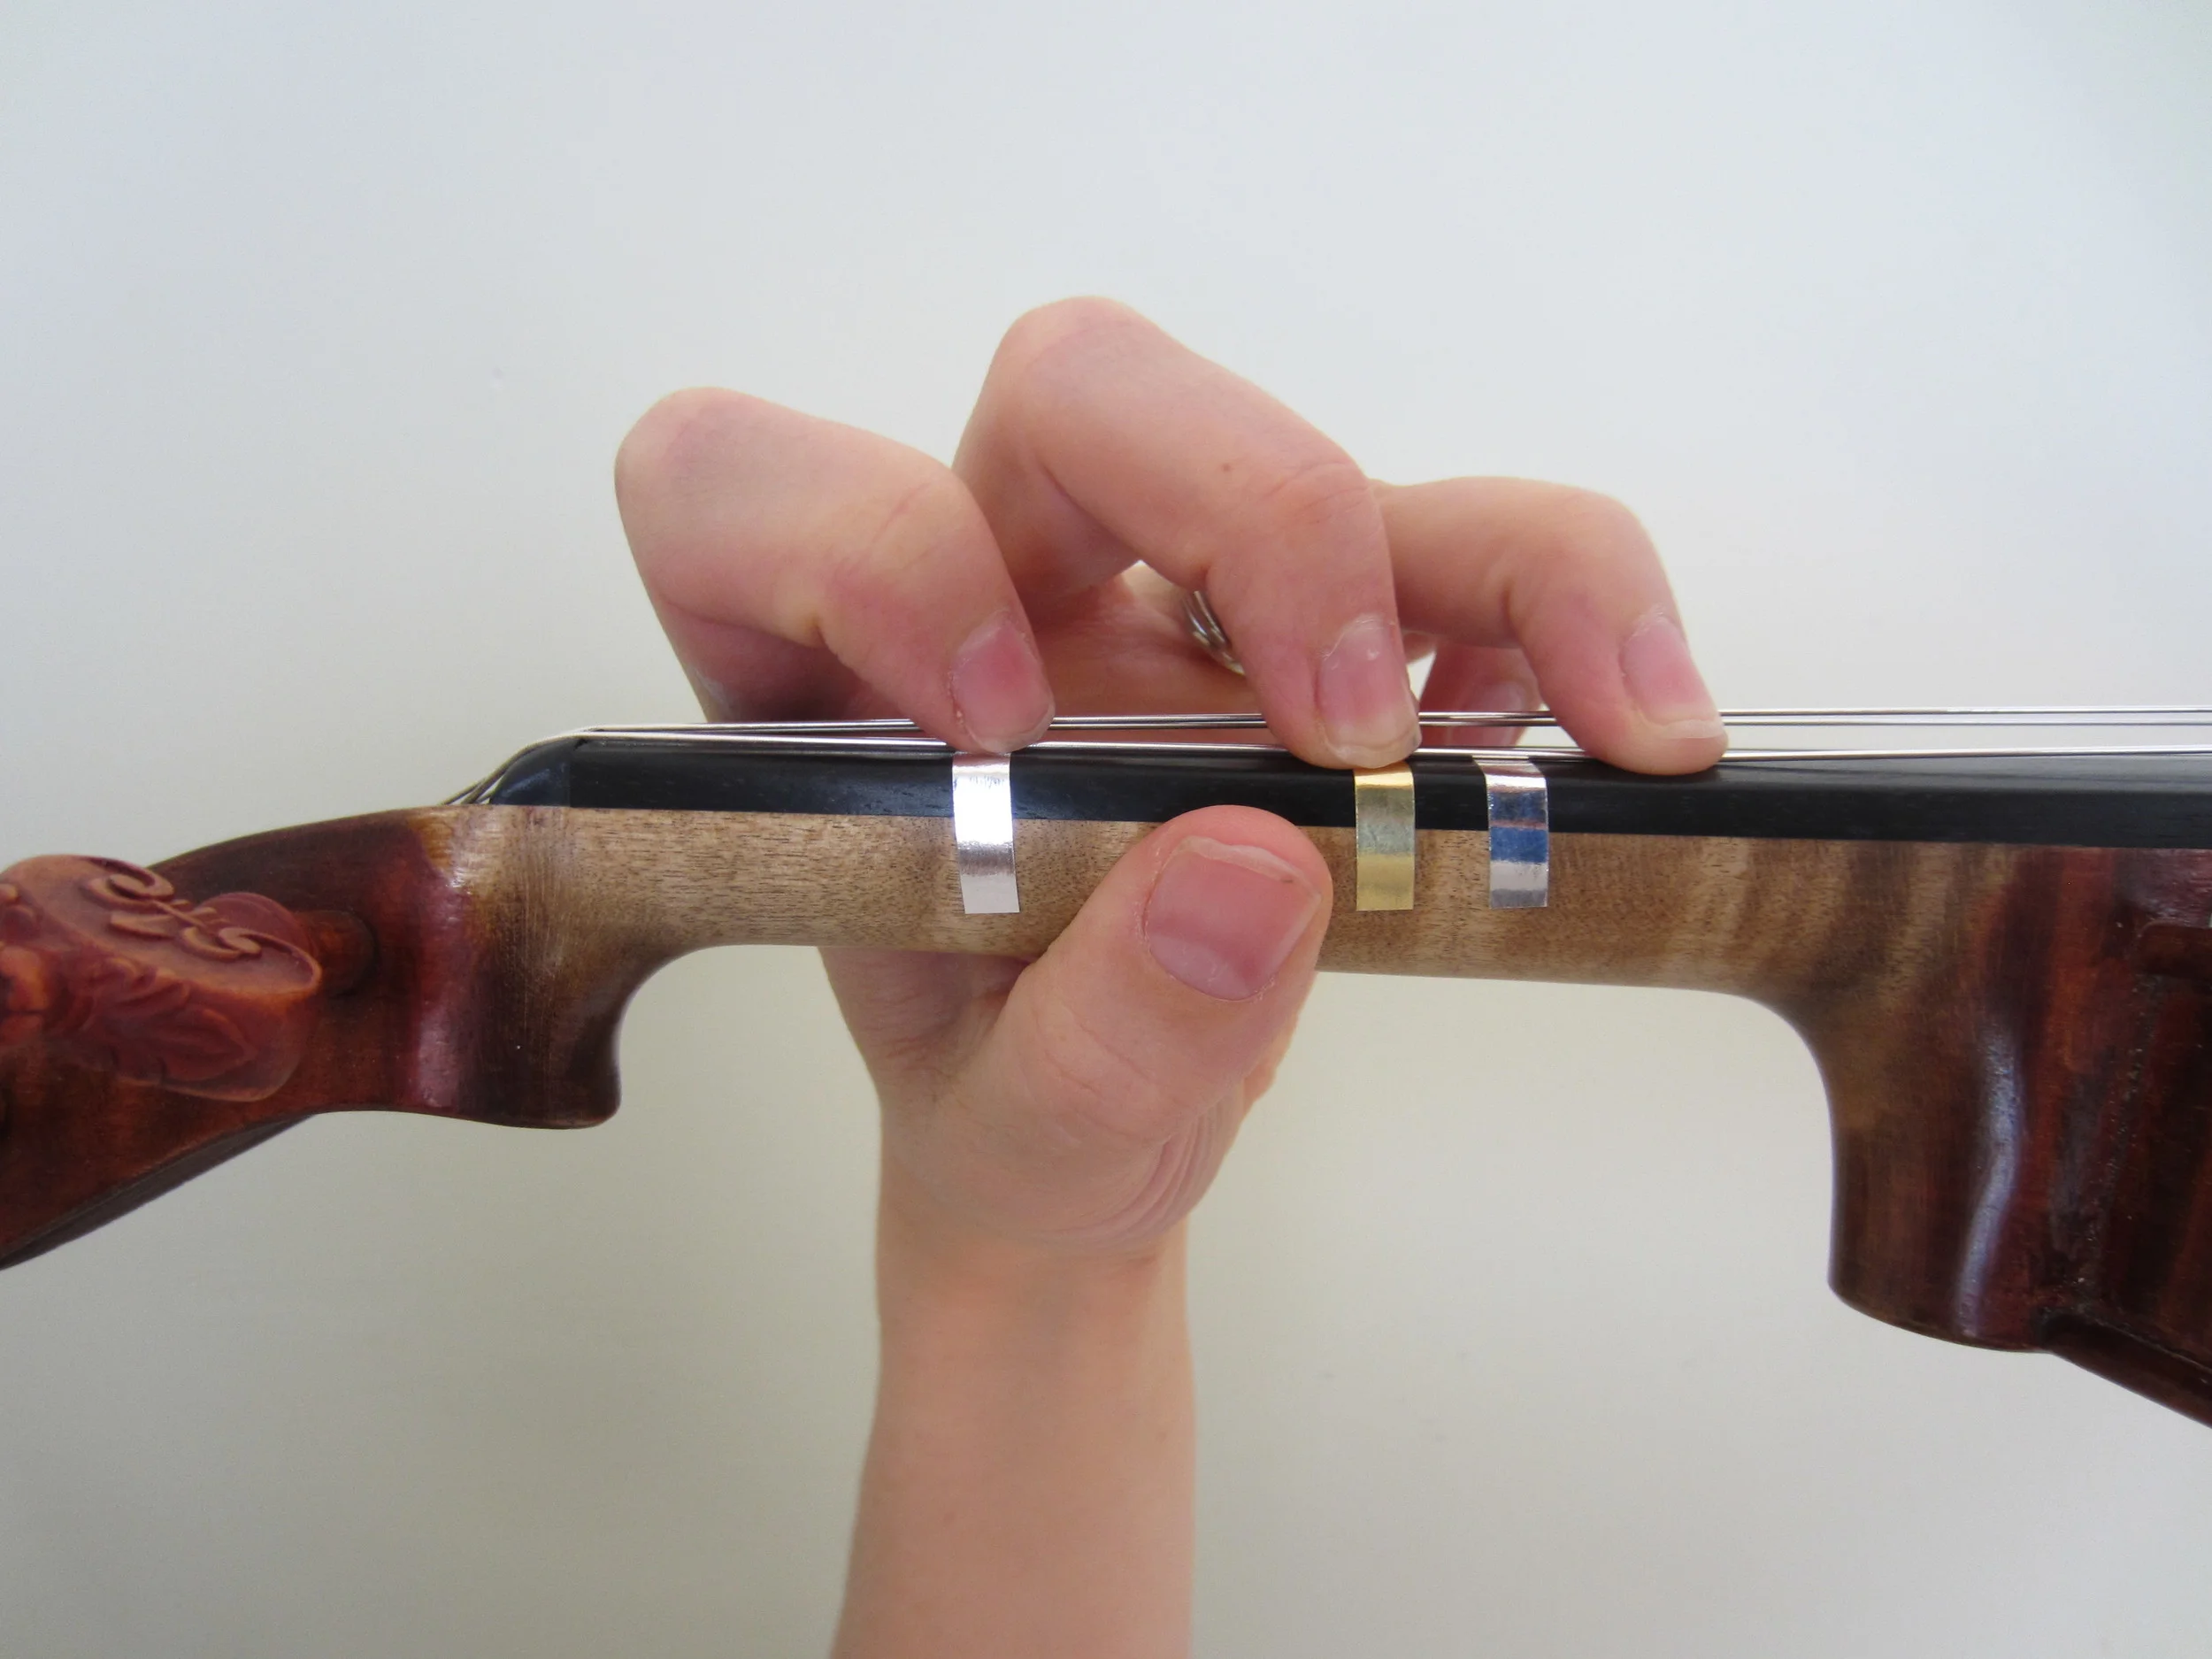
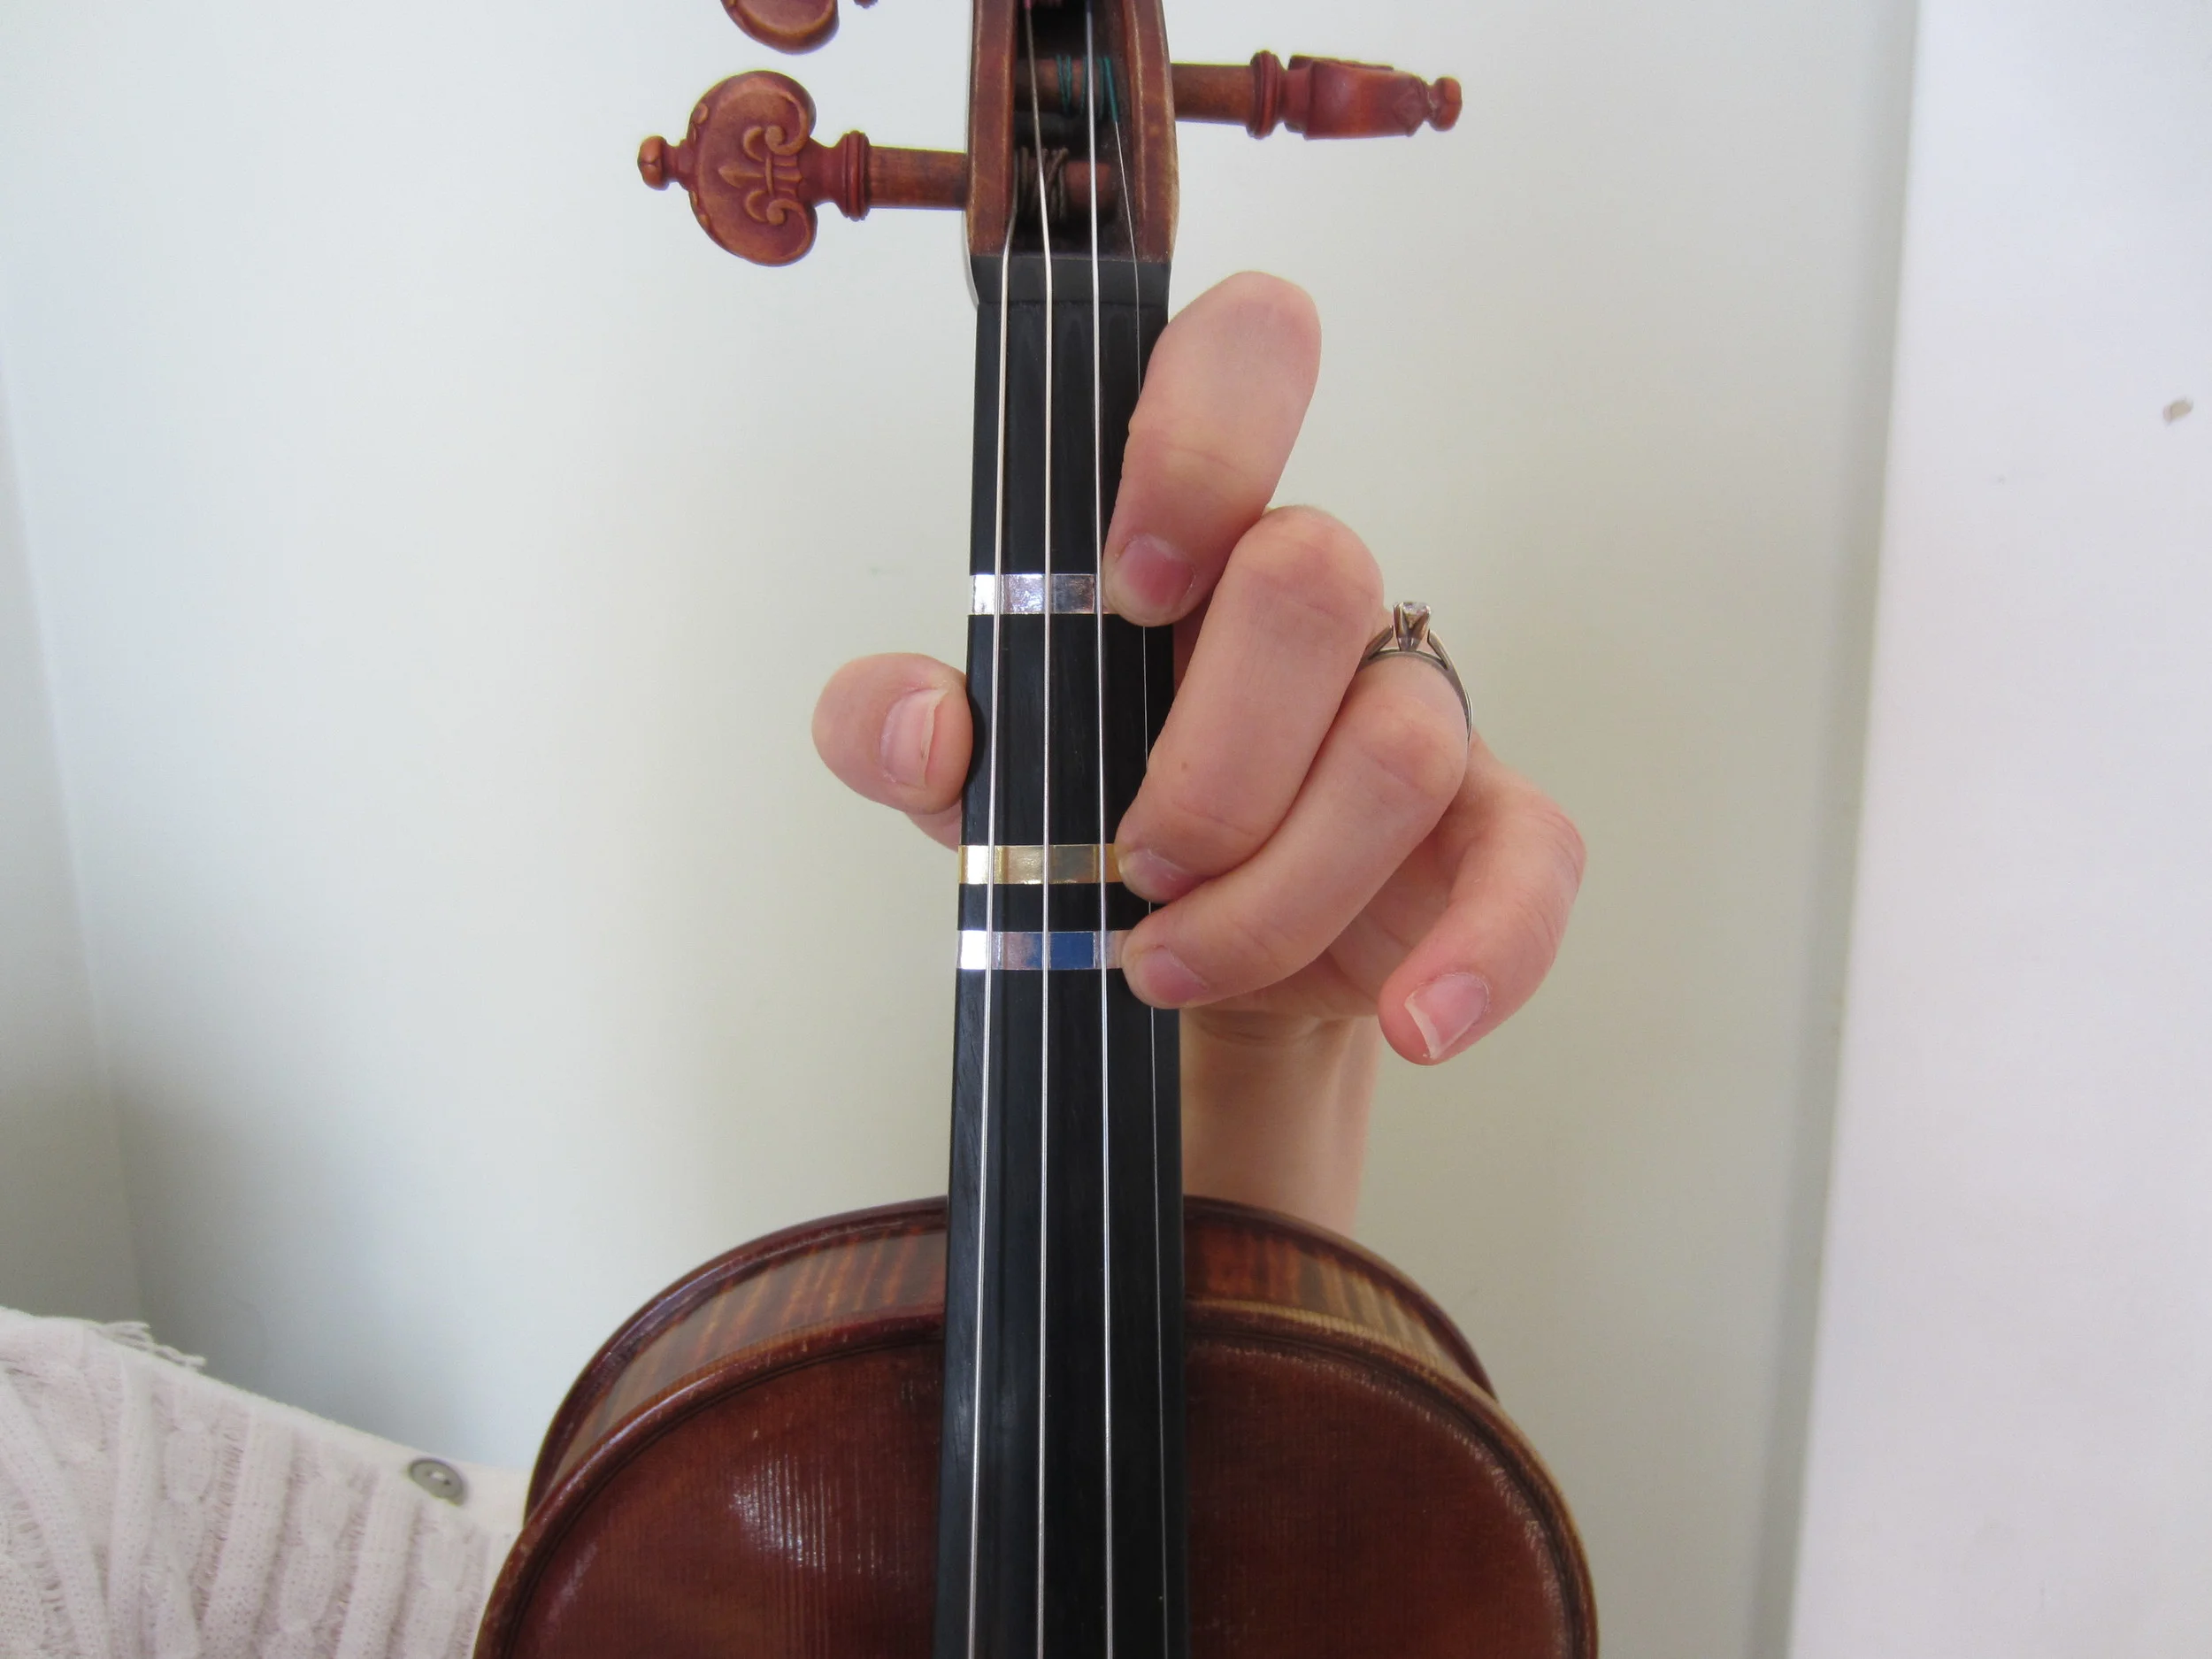
The first finger should be placed about 1 inch from the end of the finger board depending on violin size. Whole steps are roughly one inch apart (also dependent on violin size) and half steps are roughly 1/2 inch apart.
Take Note** The fourth finger (little finger of hand) on all strings except the E string play the same note as the open string of the next consecutive string.
There is no need to learn the strings in a certain order. However I usually begin with the two middle strings when teaching students. One reason for doing this is that a nice tone is easier to achieve as a beginner violinist on the middle strings and they are the most used strings in beginning music followed by the E string than the G.
Check Out These Related Articles